Building a Balsa Wood Airplane Wing
This tutorial documents the building of an outer wing panel for an RC airplane. The techniques used are common to balsa model building in general. You will be starting with a bunch of balsa parts, a plan, and some glue. If the parts are not already cut from the wood, that step obviously comes first.
(If you need to transfer the parts' drawings to the wood, see this tutorial first). Click on the thumbnails to see a larger image.
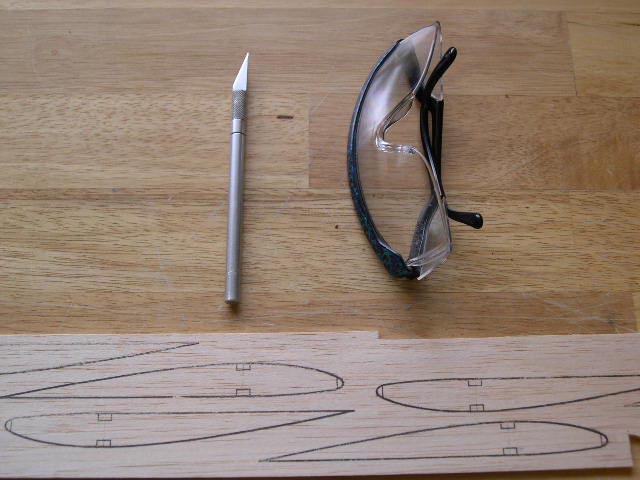
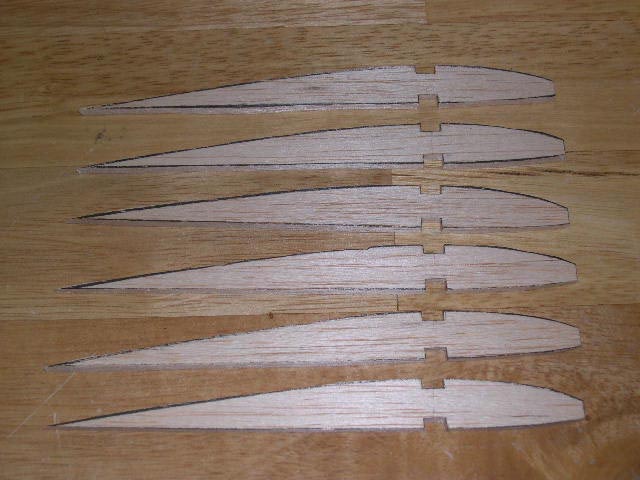
The most common tool for cutting balsa is the X-acto knife with a #11 blade, shown in the left picture. Don't forget your safety glasses! Use an old magazine or other surface as cutting board. Twenty minutes or so with a sharp blade and the rib parts are all done:
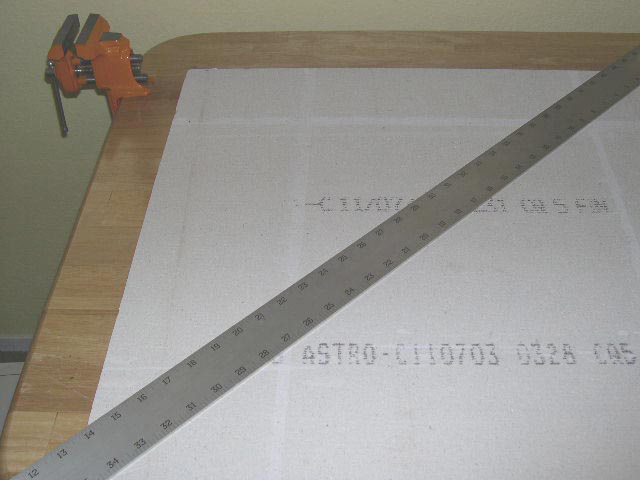
Now prepare the building surface. You need a flat table or workbench. Some people use a surplus door on top of two sawhorses. Check with a long straight-edge that it is flat.
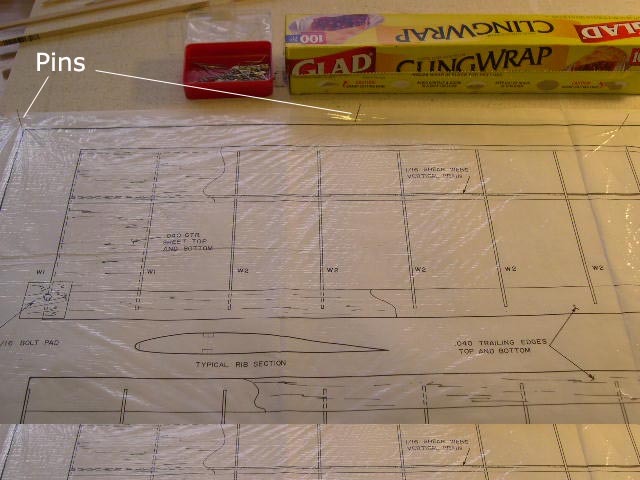
We'll be using pins to secure the parts during the build, so cover the surface with acoustic ceiling tiles (Home Depot, etc), see left picture below. Then place the unrolled plan on the ceiling tile. Then tape (or pin) in place wax paper (or saran warp) to protect the paper plans from the onslaught of glue:
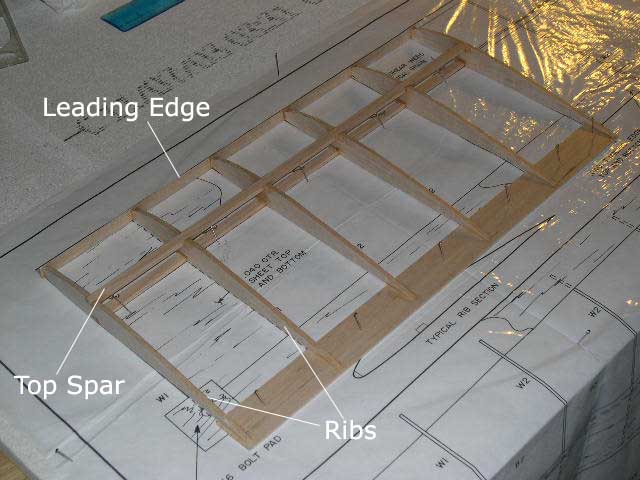
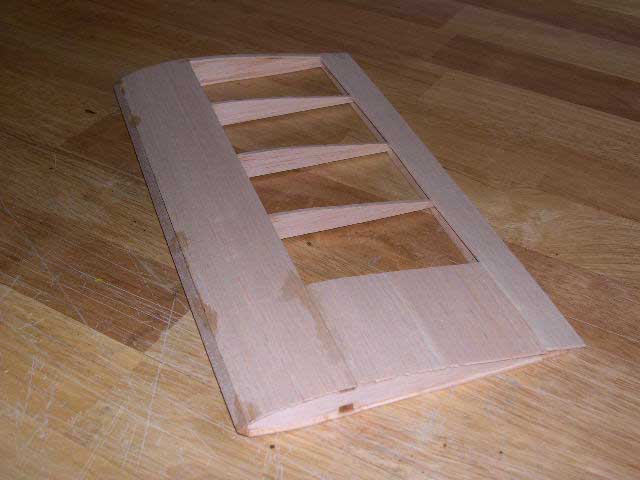
Now start building directly over the plan, positioning the parts over their location on the plan. The exact sequence will vary depending on your kit or plan instructions, but here is a typical one. Lay the bottom spar and trailing edge on the plan, pinning them in place (left pic).
Then position the wing ribs in place, gluing them with thin CA glue. Use the glue sparingly: a small amount will do the job; too much adds extra weight and flows everywhere, making the sanding job more difficult. Try to get the ribs vertical (use a 90 degree triangle). Then install and glue the top spar, and leading edge:

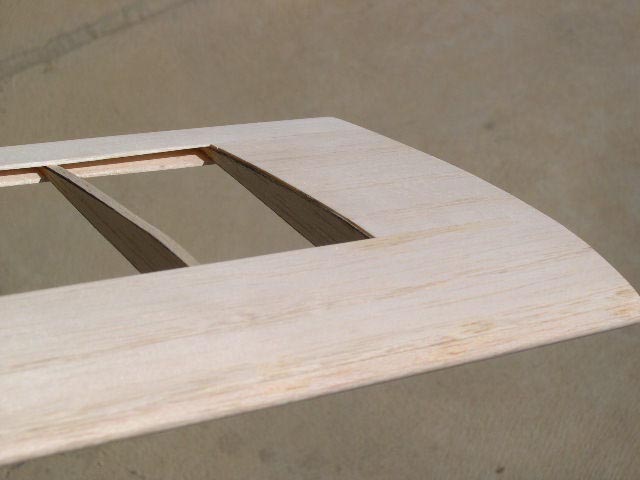
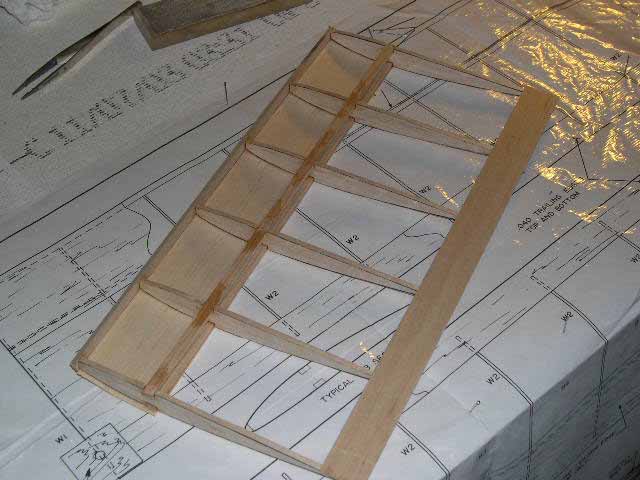
At this point, the wing was strong enough to remove from the plan and start the wood sheeting. Flip the wing over and do the top sheeting, then flip again and add the bottom sheeting. Use CA glue.
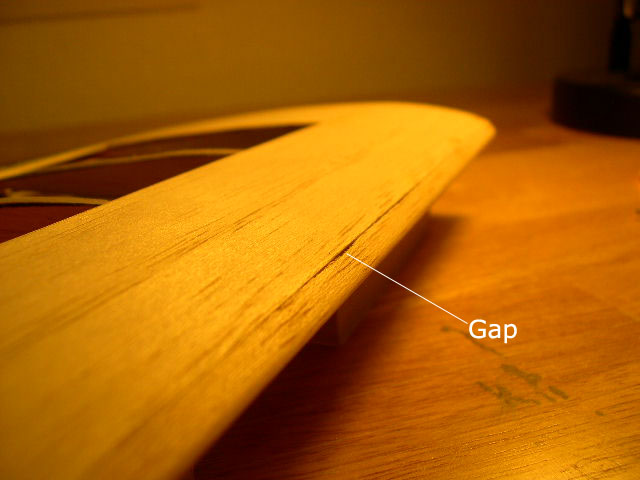
Now, no build will be perfect, you will get a few gaps, dings or gouges. Here there's a gap between the sheeting and the leading edge of the wing. The sheeting can move up and down here, reducing wing strength and preventing a proper sanding and covering job.
It's best to seal gaps with wood if possible; wood is much stronger (per unit weight) than glue or filler!
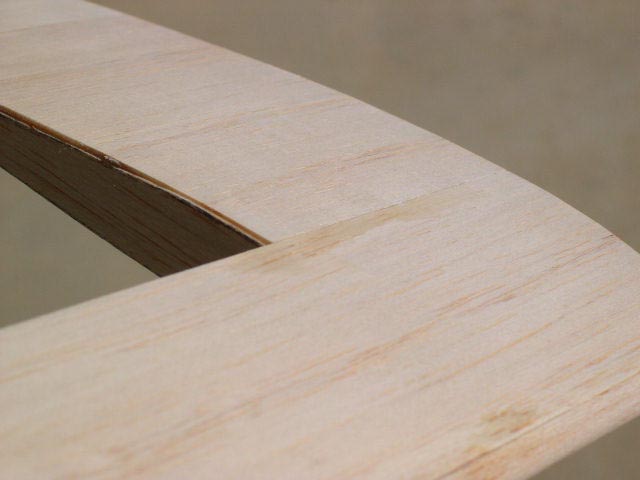
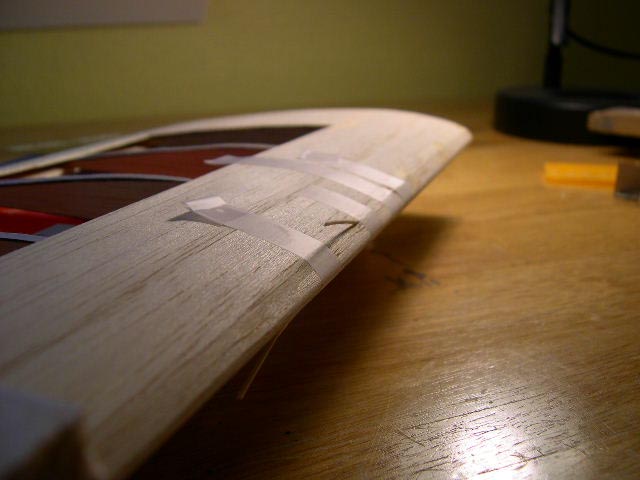
In the middle photo below, I've inserted thin strips of wood (glued with yellow glue, will be easier to sand than CA glue). Then the sheeting is held in place with tape.
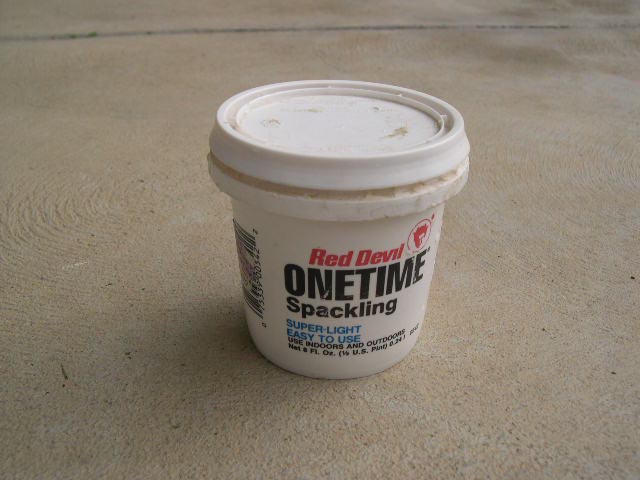
After the glue has dried and the area has been sanded, final gaps will be filled with lightweight spackle (right photo). An 8 oz tub of the stuff will last through many models:
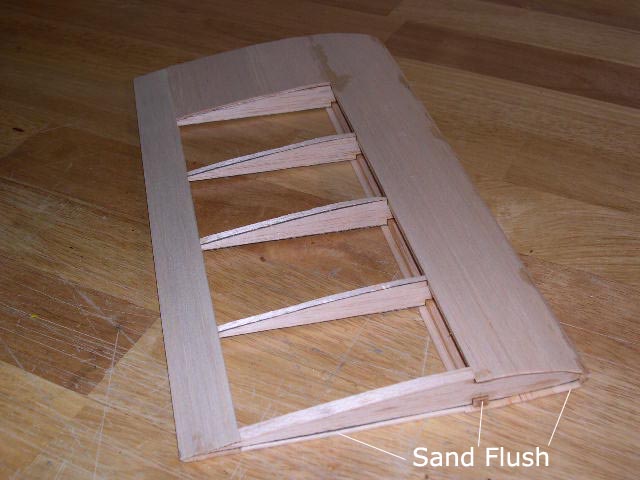
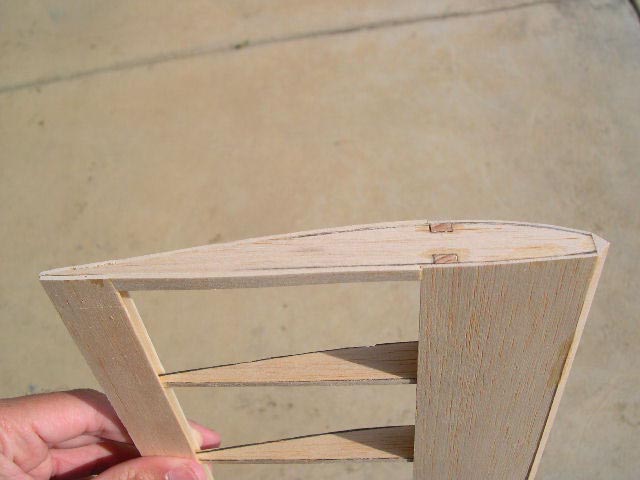
Now we just need to add the tip block to complete the wing panel. The coping saw or the X-acto saw (red handle) will make short work of the balsa block. Also needed are sanding blocks (80 grit and 220 grit) and a dust mask. The rib at the end needs the sheeting and spars sanded flush, do that first:

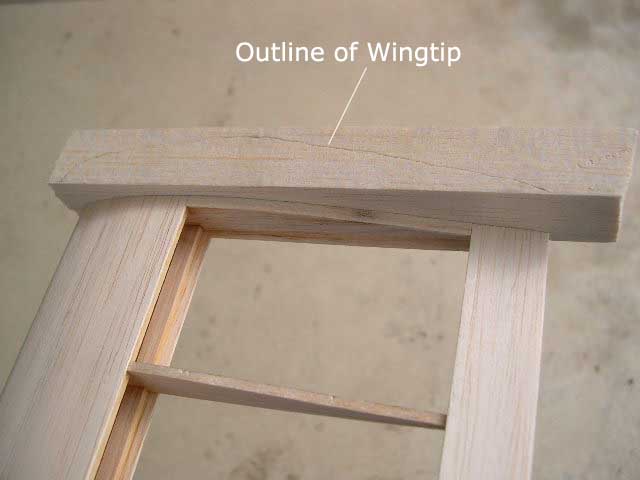
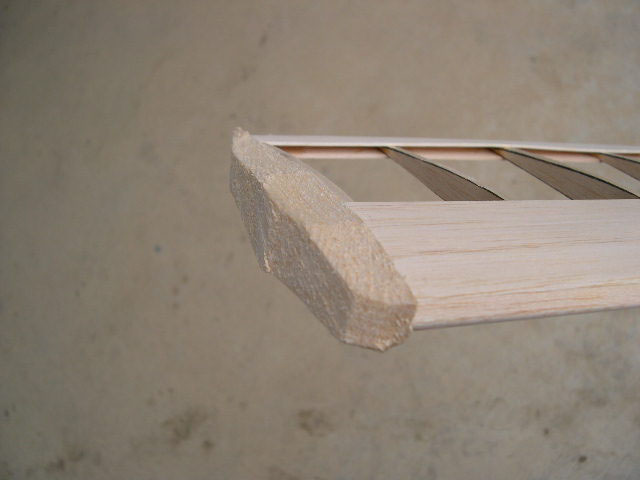
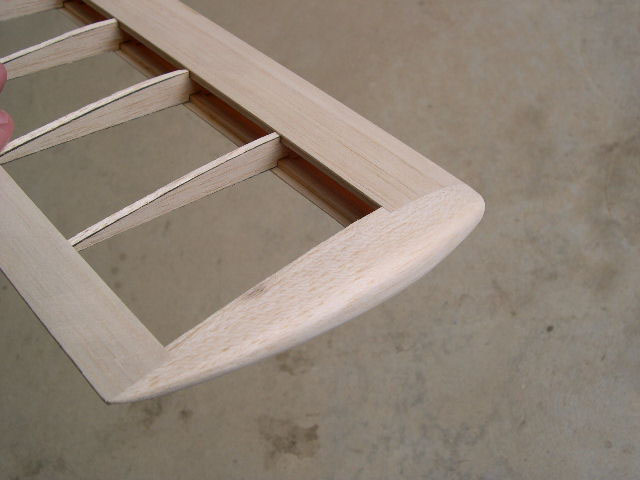
Then glue the tip block in place. Cover the entire end rib with a thin layer of yellow glue, then tape or pin in place while it dries. Mark the outline of the wing tip on the block, then use a saw to cut away the excess wood. Ten minutes of sawing gave the rough tip shown (second photo from right), and some time with the two sanding blocks resulted in a fairly smooth finish (right photo):

Now sand the entire wing section with progressively finer grades of sandpaper (attached to blocks). 80 grit for rough shaping, 220 grit for medium sanding, then 600, and 800 grit to finish up.
Hold the piece up to a bright light, or at varying angles in sunlight, to check for surface quality. It should not only look smooth, but feel smooth. The hand holding the sanding block will be slightly numb, so use the other hand to run carefully over the entire surface, especially any joints.
Any rough spots will cause the covering material to snag as it shrinks, resulting in wrinkles in the finish. The quality of the final finish is proportional to the amount of time that you put in with the sandpaper.