
Painting Scale Models - Camouflage
Camouflaged scale models can be challenging to paint. They require a bit of planning, and it's often good to make notes to make notes about which color is applied to which part when.This eliminates guessing or confusion when you have the model on your paint stand. Our painting notes for the spitfire looked like this:
1) Primer Coat: XF54+XF21 (Dark Sea Gray + Sky, 50:50) "Medium Sea Gray".
1) b) Spot filler, touch-up primer.
2) Fuselage Band, & Spinner: XF21 (Sky). Mask Off fuselage band.
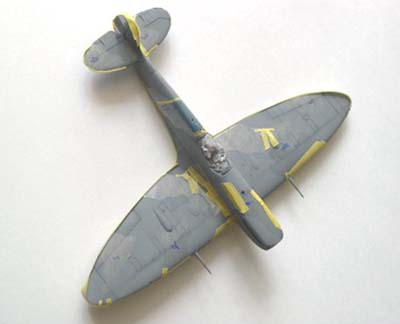
3) Pre-shading: XF-1 (Flat Black)
4) Underside: XF54+XF21 (Dark Sea Gray + Sky, 50:50) "Medium Sea Gray". Mask
off.
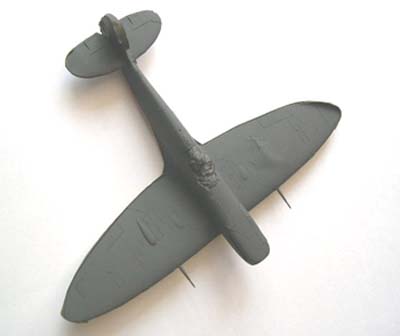
5) Top side: XF54 (Dark Sea Gray). Mask for camouflage.
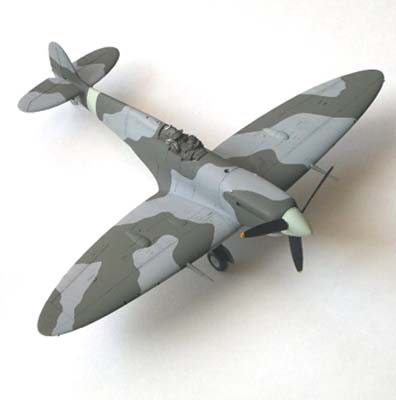
6) Top side: XF61 (Dark Green). Remove Masks.
A general rule of thumb when overlapping paint colors is: paint the lighter color first. If you did try to cover a dark color with a lighter one, it would require more paint than doing it the other way round. This would have two effects: (1) obscuring surface detail, and (2) adding more weight, which is not good for a flying model.
After the 1st (lighter) color is dry, apply the masks. Then spray the darker color, as shown below.
When the 2nd color is dry, carefully peel off the masks, and prepare to be impressed!
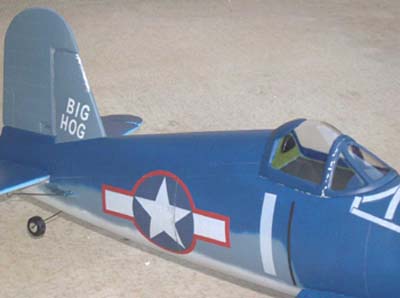
Note that for some planes, soft (fuzzy) separation lines between colors is more accurate than a sharp line. An example is the WW2 Corsair, in the three-color naval camouflage of that period. The colors on this one (photo above right) were done free-hand with an airbrush.
Before painting, the camo lines were gently drawn on the surface with a soft pencil. Another option would be masks offset slightly above the surface, in which case either airbrush or spray cans could be used.