Covering RC Airplanes with Heat Shrink Plastic Film
Heat shrink covering film is one of the best materials available for finishing model airplanes.Film is convenient to use, and adds more strength to the structure than tissue or silkspan. This covering is commonly used over balsa wood, although it can also be used over fiberglass, and even foam (low temperature film only). There is some skill to applying heat shrink plastic well, and this photo tutorial will help you develop that skill.
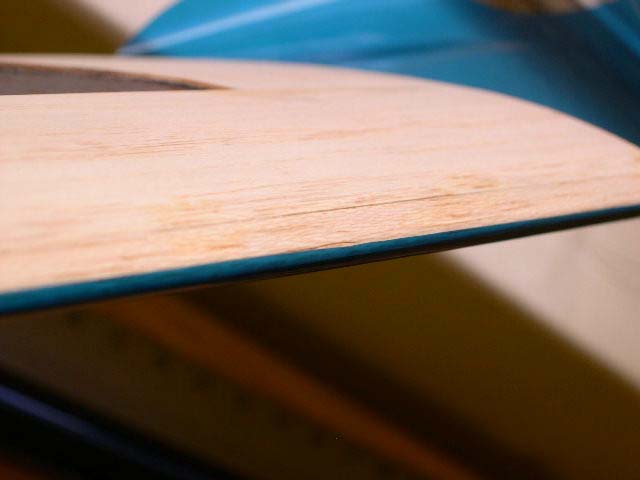
First, you will need a part that has been sanded smooth. I prefer 800 grit sandpaper as the final finish. If the final finish is not smooth it will show after covering, do not think that you can hide it! A good sanding job is a critical piece of getting a good covering job.
Second, make sure to remove that sanding dust. The dust particles get trapped under the covering and result in imperfections and bubbles. You will also need to remove dust from your work area, or perform the covering in a cleaner room (e.g. unused guest room in your house).
A tack cloth from the hardware store is essential for cleaning the balsa airplane parts. Wipe the whole airplane down with the cloth; get into all the crevices that you can. Also use a vacuum cleaner with a brush attachment to remove dust. The wipe with the tack cloth again.
You will also need to wipe down your work surface and tools. It's also a good idea to wash your hands before after cleaning the model and before starting to cover. You get the point: the cleaner, the better.
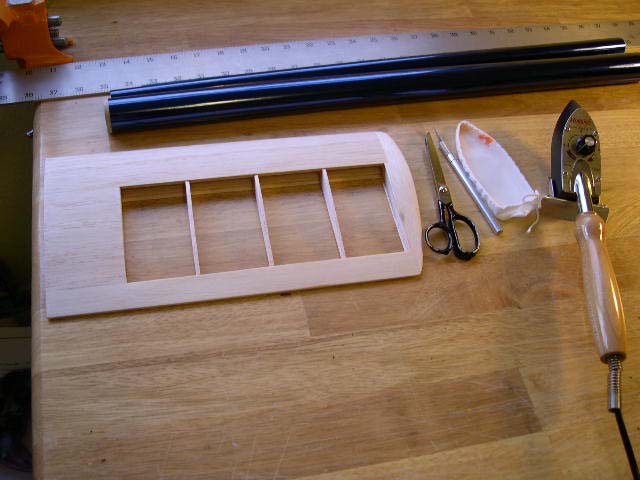
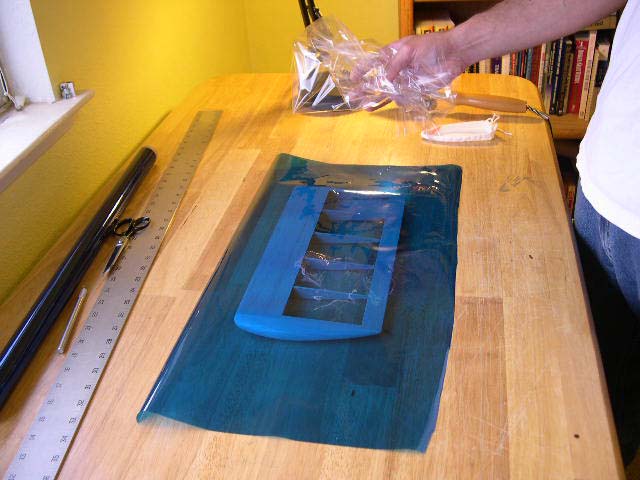
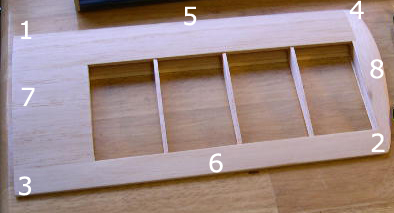
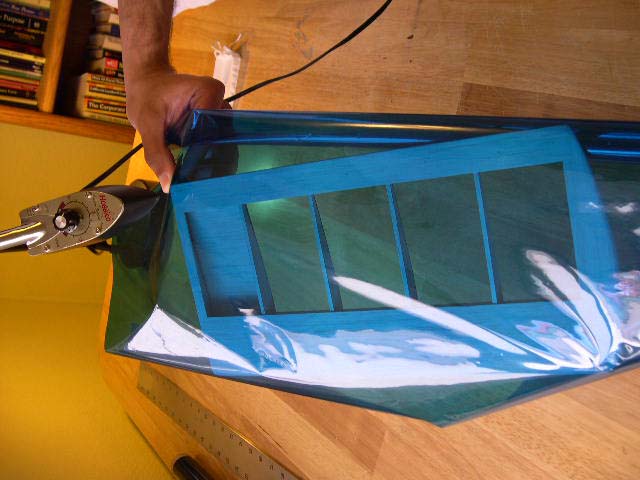
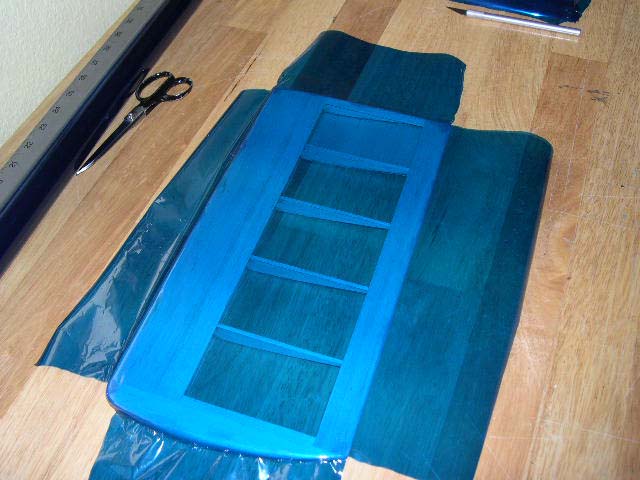
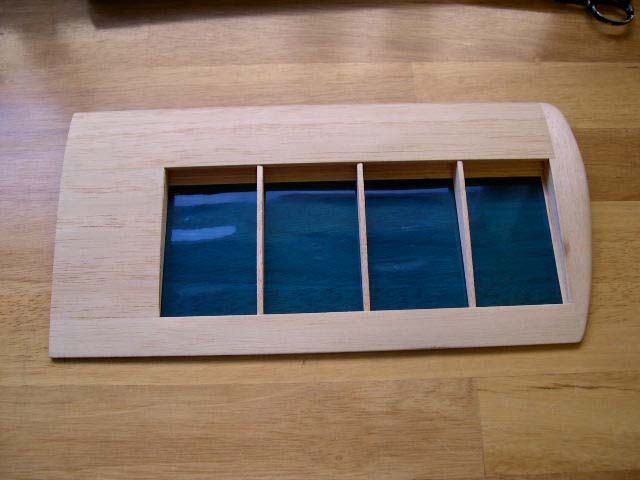
OK, now you're ready to cover! You'll need the covering material, scissors, a sharp blade, a covering iron, heat sock, and a metal ruler to cut trim pieces. Our demo piece is an outer wing panel. Place the panel on the table, and measure and cut a piece of covering at least 2 inches bigger than the part.
For wingtips, make the excess about 4 inches, as you'll need to hold on here during the wingtip sealing. Don't forget to remove the clear plastic protective backing from the film!
The covering will first be tacked down at a few places around the frame, then it will be sealed at all the edges, then shrunk tight. The recommended sequence for tacking is shown below on the left.
Click on any of these thumbnails to enlarge.
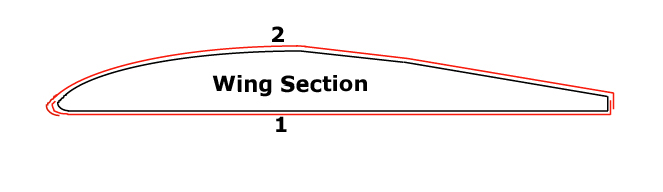
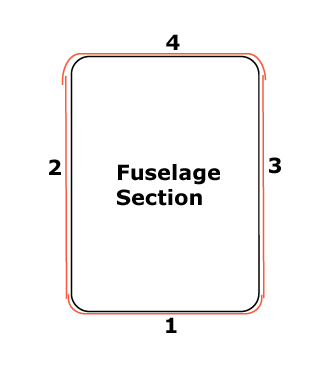
For a wing or other flight surface, you'll generally cover in two pieces, bottom first. For a fuselage, four pieces work well. Look closely at the numbered sequence of covering pieces, and at the overlaps.
These overlaps should be around 1/8 inch. This sequence will help ensure that seams are less visible. When covering the fuse, if you need to use multiple pieces along the length, start at the back of the fuse and work your way forward, so that the seams face to the back.
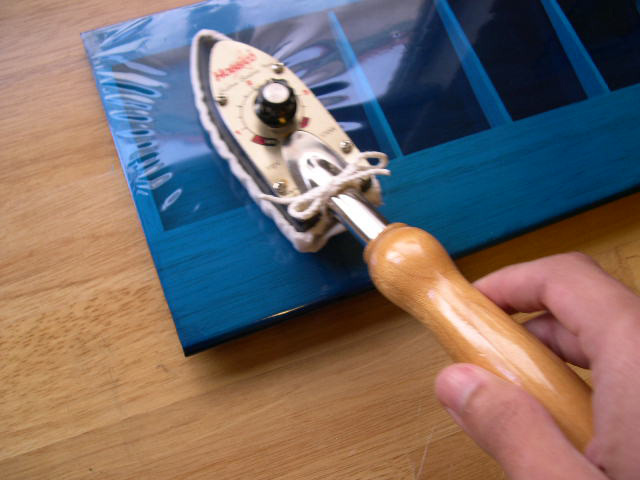
A word on the covering iron temperature. These films have an adhesive that is activated at one temperature. A higher temperature is required to shrink the film after tacking it in place. The covering iron has a dial with generic settings. For the old Hobbico iron and Ultracote covering in these photos, 1.25 works for tacking and 2 works for shrinking.
Of course, this will vary from iron to iron and covering to covering. Read any directions that came with your roll of film to see what temperature they recommend. You can purchase a covering iron thermometer, but you could just estimate the correct temperature this way: cut a small piece of the covering, place it adhesive side upwards, on the face of the upturned covering iron.
If it begins to change color slightly, that's a good temperature to start tacking. It the film wrinkles a lot, try that setting of the iron for shrinking. If the films melts or vaporizes, that's way too hot!
With your iron at the lower temperature, begin tacking the film. Use the tip of the iron to tack a spot about 1/4 to 1/2 inch diameter at one corner of the frame (labeled "1" above).
Let the corner cool for a couple of seconds, then gently pull the covering towards the opposing corner ("2"). This pulling is essential to make sure that the covering ends up moderately tight, minimizing the shrinking that is need later. Don't pull so hard that you break the airframe! After tacking at corner "2", proceed to pull-and-tack around the airframe, till all eight (8) labeled spots are tacked:
Note that if you don't like how a certain spot is tacked down, you can reheat that spot and gently pull the covering up, then reposition and stick it back down again with more heat.
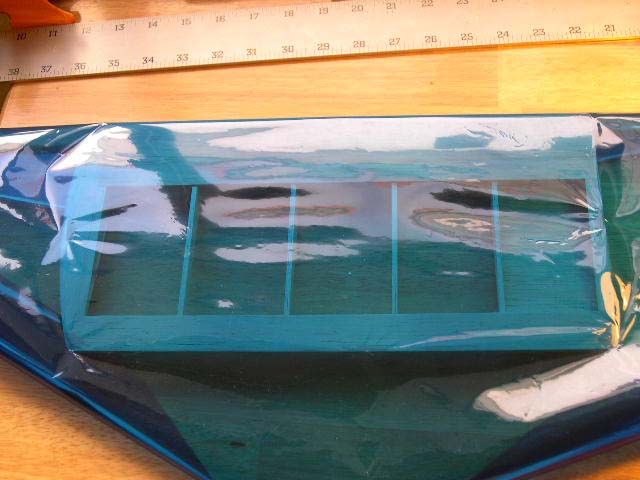
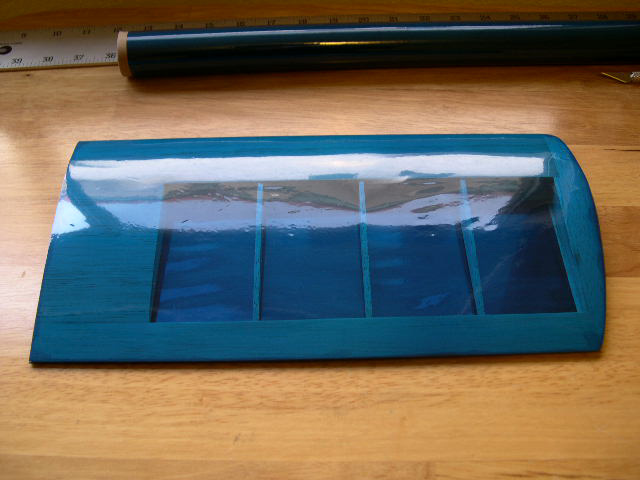
There are lots of wrinkles at this point, but that's to be expected. Now seal all the edges except the wingtip. The best way to do this is tack at the midpoints between all the previously tacked 8 points, e.g. halfway between 1 and 5.
Then seal the entire length between 1 and 5. Repeat the rest of the way around the frame. Don't seal over the edge of the frame yet, just on the surface.
Now you're ready to tackle the special case of the wingtip. It's special because it has compound curves, i.e. curves in more than one direction at once.
To make the film go around these curves, the film has to become very stretchy, so we must apply more heat.
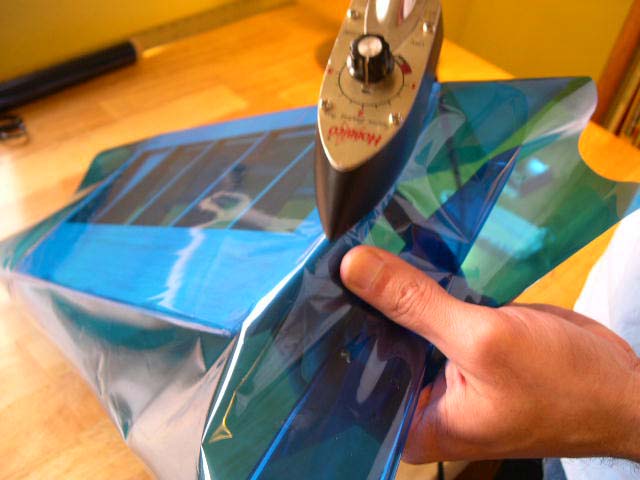
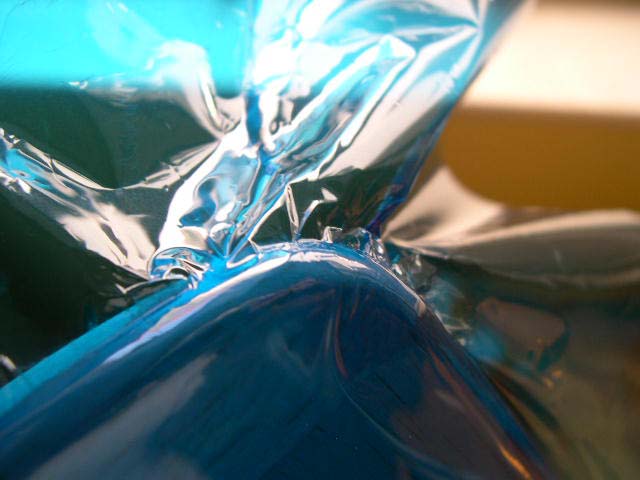
Turn up the covering iron temperature to the "shrinking" setting. Pull the covering tight over the tip, and begin to iron it in place. Work slowly from the center to the front, then from the center to the back.
Move along just a few millimeters at a time. Stick the covering just over halfway up towards the topside of the wing.
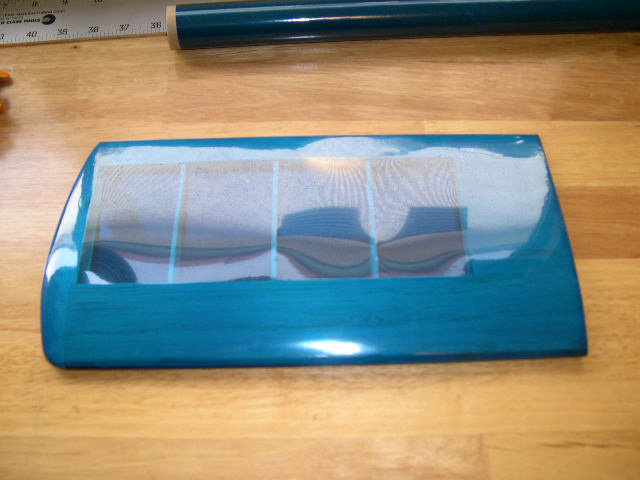
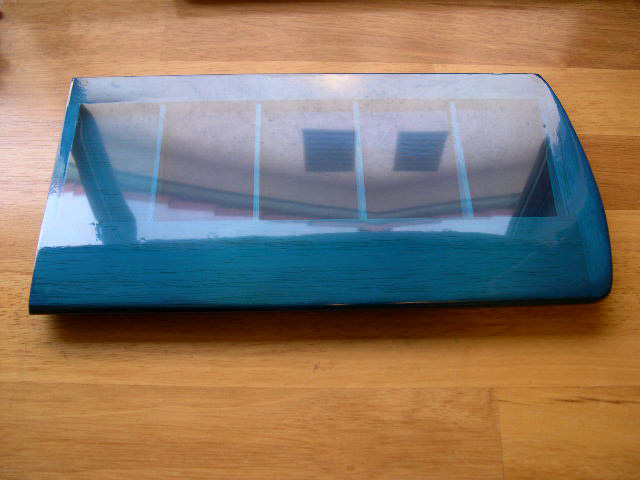
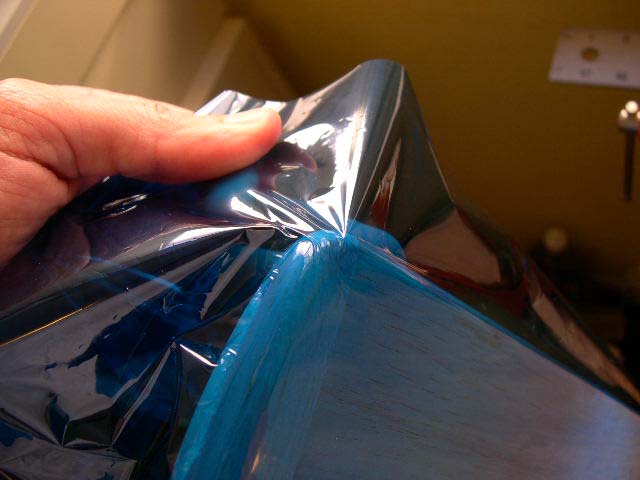
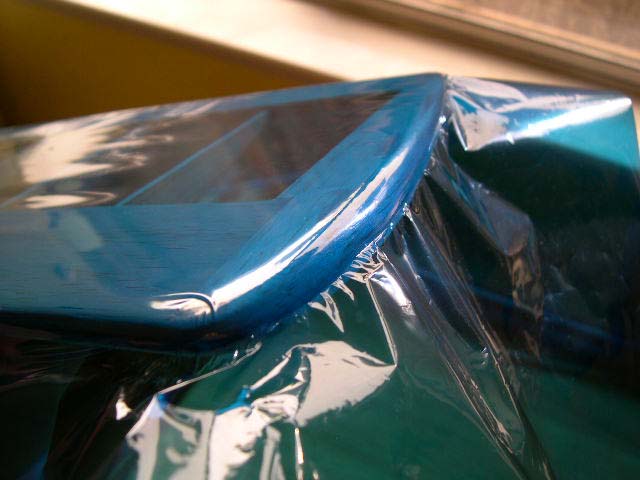
The middle photo below shows the covering pulled tight where the tip meets the leading edge, note the wrinkles. The next photo shows the same are after the covering is ironed is place, note the lack of wrinkles.
It's the iron's heat that allows this to happen. If you find yourself exerting a lot of force on the covering (and risking a break in the airplane structure), then turn up the heat!
Here is the tip after the covering is completed ironed around it. We'll trim the excess covering with an X-acto or single-edge razor blade:
Now turn the iron back down to the lower tacking temperature, and let it cool for the next steps.
We'll start to trim the excess film.
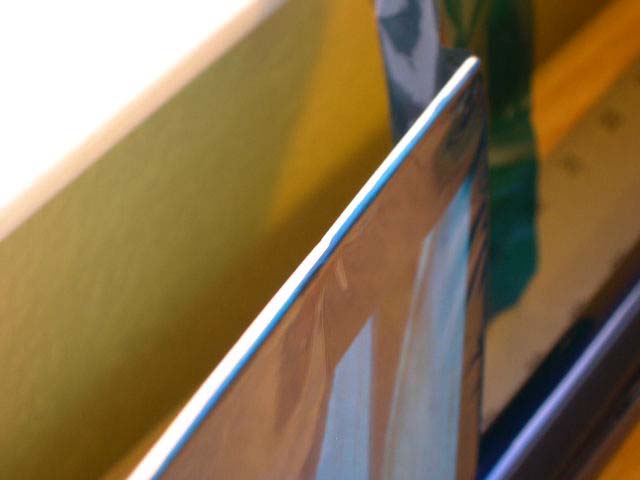
First use a blade to remove right-angled pieces from the corners of the frame. Then start to trim along the edge, leaving enough to overlap as in the "wing section" diagram above. Rest the cutting hand on the edge itself, use that as a guide as you cut.
If you work slowly you can get a fairly straight line (it does not need to be perfect, as it will be overlapped later). For the trailing and leading edges, overlap a bit more more than half the thickness of the edge. See the photos on the right below:

Now seal the overlaps to the wood. Go over the entire structure, making sure that it is completely and securely sealed: leading edge, trailing edge, wingtip, and inboard edge.
Now cover the topside of the wing, using the same procedure. Again trim the overlaps using the frame as guide; this time, put the blade itself on the frame, using the frame as your ruler to get a straight cut.
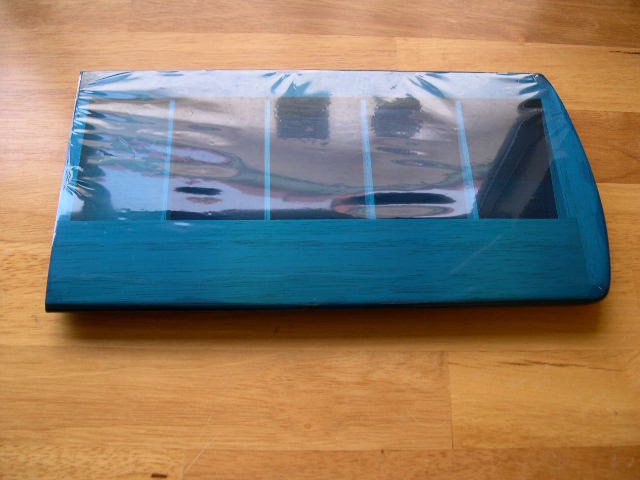
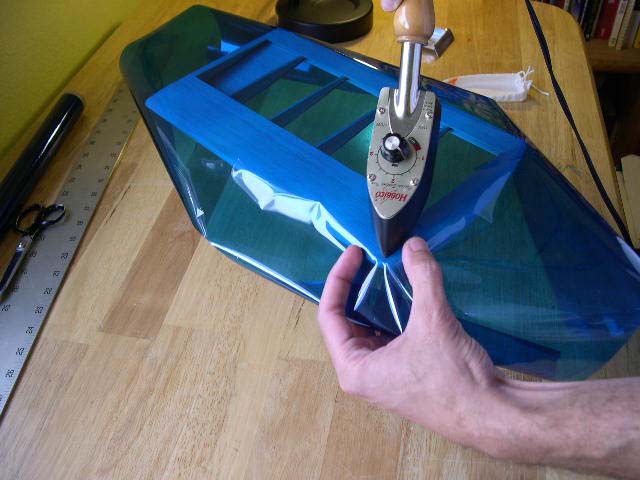
Now that both bottom and top are covered and all the edges sealed, it's time to begin shrinking the covering. Put the heat sock onto the (cool) covering iron.
You will be running the iron over the entire surface of the covering, and the surface will have small scratches if not protected. Turn the iron on, and let it heat up to the "shrinking" temperature.
Now start gliding the iron over the bottom surface. Do not press down onto the wing! The iron should be barely touching the surface. Start the iron at one end of the structure and move it in slow circles. As a guideline, move in 2 to 6 in circles, about one circle every couple of seconds.
The speed that works will depend on the iron temp and the covering brand. Do not leave the iron over one spot, as you can burn a hole in the covering! You'll see the covering change color slightly, wrinkles will form and disappear as you move the iron. As one area begins to look tight, drift slowly downwards to the adjacent area.
Keep moving down the entire wing until the whole bottom covering looks tight. You will probably need to go back to a couple small areas and re-shrink. When the bottom is done, flip the wing over and do the top side.