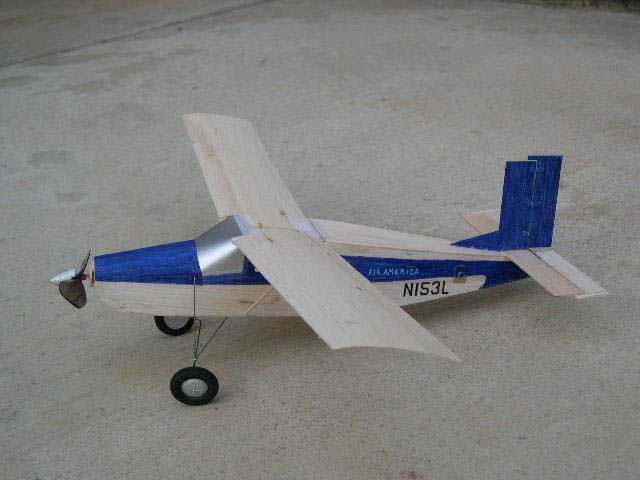
Pilatus Porter Building Sequence
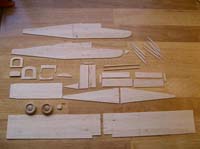
First, transfer all the parts from the plan to wood. We used the lacquer thinner method. Then cut all the parts out with a sharp x-acto or single-edged razor.
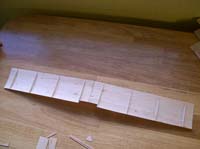
Start building the wing first. Glue the ribs with CA glue to the underside of the sheet balsa wing half, one rib at a time. Notice that the ribs cause the wing to curve into a nice airfoil shape. When each half is finished, block up the tips to the height indicated on the plan. Sand the inner wing ends so that the joint will be clean and strong. Glue with slow setting glue.
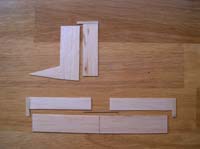
Tackle the tail next. Glue the end pieces onto the rudder and elevator. Join the elevator halves with wire. Next hinge the control surfaces with scrap copper wire. 2-3 hinges per surface will work. Just a drop of CA on each end of the wire, and hold in place for a few seconds with a pin or similar. This will be a stiff hinge (RC version will be free moving).
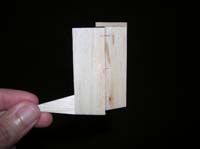
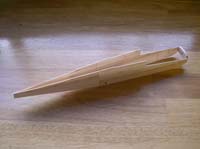
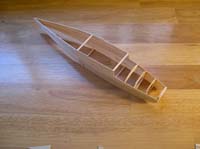
Use tape to align the two fuse sides. Tack glue only, the tail and former F1. Then start inserting the other formers, from front to back. Note the four crosspieces in the cabin area under the wing. These are all the same length, 47mm. When these are all glued in, check the fuse for straightness; you may need to separate and re-glue the fuse halves at the tail end. When all looks straight, check all the glue joints, and glue F1 securely.
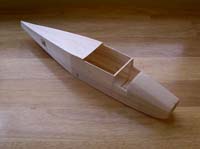
Next step is fuselage sheeting. Lay the fuse on the 1/32 inch wood sheet and draw around it, with some excess. Cut and glue, then trim the excess. Sand the entire fuse with sanding blocks.
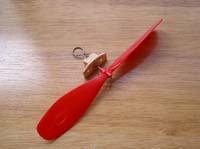
Follow the detail on the plan to build the nose block and propeller assembly. Add the windscreen with tape.
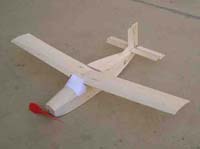
You may want to do some test flights now before adding the rest of the details [this will inspire you to keep going :) ] Don't forget to check the balance point! (see the plans)
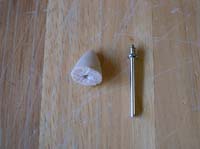
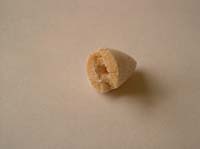
The spinner is made from soft balsa block. Using the plan as a template, rough carve the spinner. Then attach to the "screw" type axle of a rotary (Dremel) tool. Spin the balsa and shape with a sanding block (this is really easy and fun). Cut a channel in the back of the spinner to clear the prop, then use slow glue to attach, checking the alignment.
On the prototype, the propeller black and the fuselage blue color were applied with Sharpie permanent markers. The "N" number was done by using "rub-on" dry transfers. Rubbed these onto clear frisket film, then cut out the film and stuck it on. (You might be able to rub the numbers directly onto the balsa, if you do it before assembling the fuse: it requires some pressure to make the transfer). The "Air America" insignia was hand-painted with a fine brush and white acrylic paint.
The whole thing was airbrushed with several light coats of semi-gloss clear acrylic, then the windshield added. The windshield is paper airbrushed with silver acrylic paint; tape it into place. Then add wheels (we used some leftovers from a kit, but you can turn your own from balsa). Wing struts were added last.
Now we're ready for a sortie over the jungle!
(click to enlarge)