
How to Finish a Scale Model Airplane
Here's a set of guides for getting a realistic scale finish on a model airplane.
The demo models will be foam, wood or plastic (non-flying). The first guide discusses finishing of a scale foam airplane. Also be sure to check our guides to pre-shading, masking, camouflage, decals, panel lines, and weathering. Applying these techniques can really enhance the look of your scale models.
--------------------------------
Foam has become a very popular material for RC airplanes. It's cheap, can be formed or cut into complex shapes, and is easily repaired with glue. Getting a good finish on foam is a bit different than for wood, or wood/fabric (film) airplanes. However, once the surface is smooth, many of the painting and detailing techniques are similar.
- Sand the foam smooth with sanding blocks (220 grit) . Remove all the bumps and mold marks.
- Fill holes and dents with lightweight spackle, then sand again.
- Apply ¾ ounce per square yard fiberglass cloth. Use a soft foam brush to spread water-based polycrylic on to adhere the cloth.
- Sand again.
- Apply two coats of polycrylic mixed with baby powder (50:50) as a filler. Used an old credit card to squeegee off the excess. The goal is to fill the weave of the fiberglass, but remove any extra filler (which just adds weight). Dry and sand after each coat.
- For primer, use latex house paint applied with a foam brush. A spray primer might work, just be aware that some of the propellants can eat foam, so test on a spare piece of foam.
- After priming, wet sand to 600 grit.
- Use Tamiya or Model Master acrylics (used for plastic models) in a single action airbrush. Stock paint thinner works best for this. Spray cans are another option, just test for compatibility first on a foam scrap.
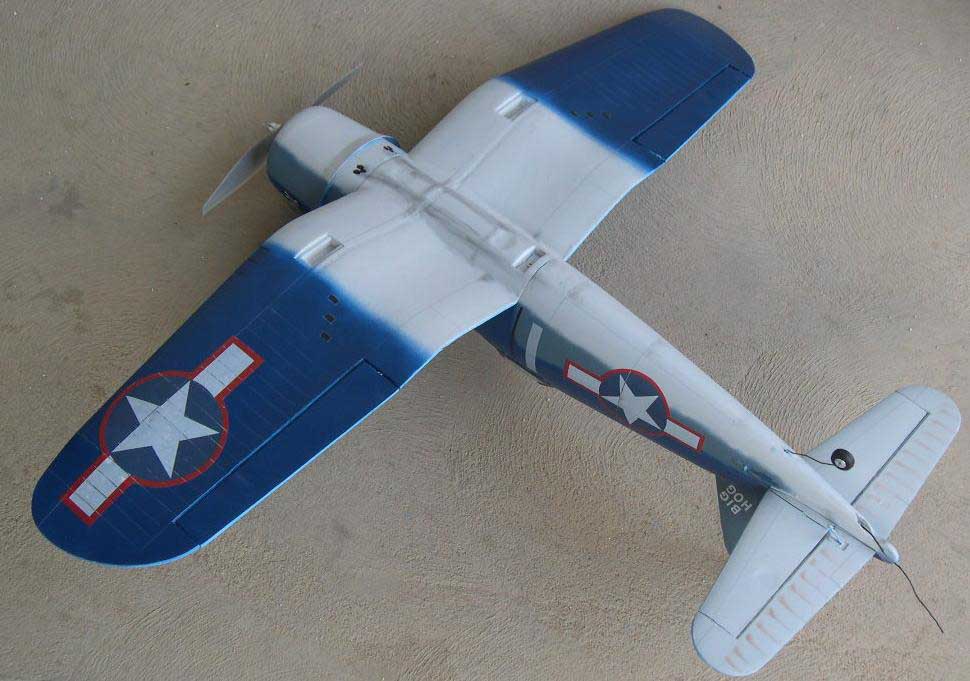
- Paint sequence: Wing and fuselage/tail painted separately. Bottom, then sides, then top.
- Airbrush Future acrylic floor wax. Any clear gloss acrylic will do. The gloss coat prevents the decals from silvering (i.e. looking like stuck-on plastic). Future can be airbrushed straight, without thinner.
- Use a sharp x-acto knife to trim the decals. Cut as close to the decal as possible, removing excess clear plastic film.
- Apply the decals (with some soapy water solution to help positioning). Dry overnight and clean up with a damp cloth.
- Spray another coat of Future before applying panel lines.
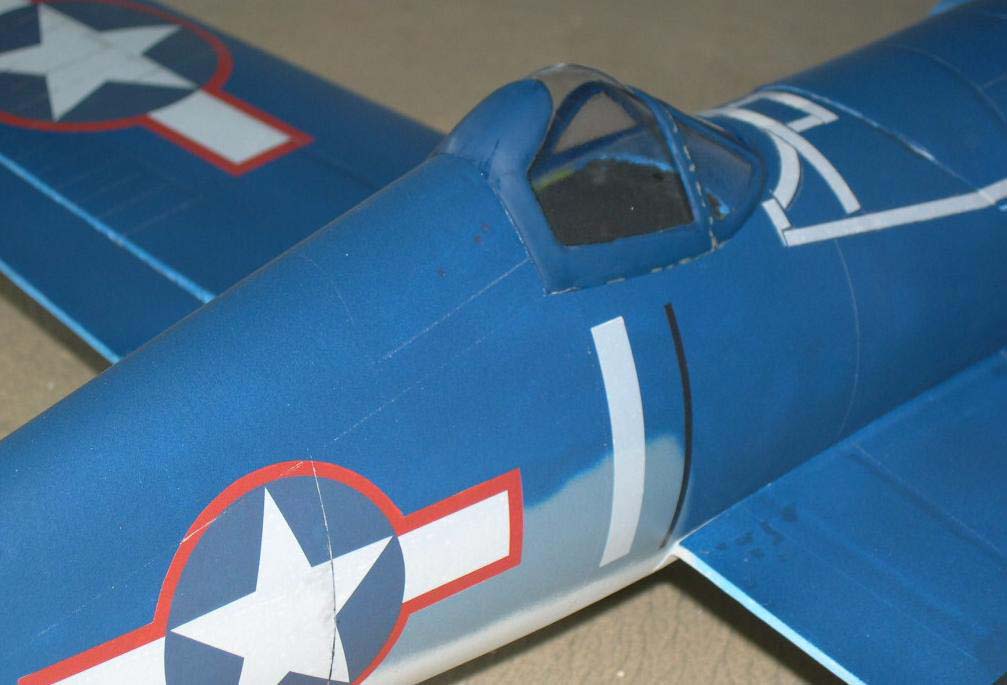
- Panel lines are drawn onto the model with gray pencils of varying shades, silver paint pen, and black pen. Use a 3-view from a book, or a scale plastic kit, as a guide. Use light panel lines over dark background, dark over medium or light background. Change the pen/pencil color when going from one background color to the other, or across a decal. Not hard, just time-consuming. Use flexible rulers from the drugstore to go around curves.
- Seal the panel lines with a semi-gloss or flat clear acrylic (depending on your airplane).
- Use pastel chalks from the craft store to make smoke and gun stains. Scrape a bit of chalk powder off with a blade, then use a fine brush to apply the powder on the model. Draw the brush in the direction of the airflow. Gently blow off the excess. When done, seal with the final coat of clear acrylic.
- Admire your handiwork, then go flying!